


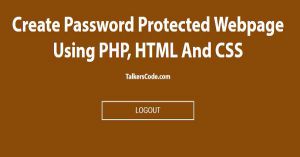
Create Password Protected Webpage Using PHP, HTML And CSS
Last Updated : Jul 1, 2023
In this tutorial we will show you how to create password protected webpage using PHP, HTML and CSS.
In this user have to write correct password to see the webpage content without password user will not be able to see the webpage content.
You may also like reset password using PHP.

CHECK OUT THIS TUTORIAL LIVE DEMO →
To Create Password Protected webpage It Takes Only Two Steps:-
- Make a PHP file and define markup
- Make a CSS file and define styling
Step 1. Make a PHP file and define markup
We make a PHP file and save it with a name password.php
<?php
session_start();

if(isset($_POST['submit_pass']) && $_POST['pass'])
{
 $pass=$_POST['pass'];
 if($pass=="123")
 {
  $_SESSION['password']=$pass;
 }
 else
 {
  $error="Incorrect Pssword";
 }
}

if(isset($_POST['page_logout']))
{
 unset($_SESSION['password']);
}
?>

<html>
<head>
<link rel="stylesheet" type="text/css" href="password_style.css">
</head>
<body>
<div id="wrapper">

<?php
if($_SESSION['password']=="123")
{
 ?>
 <h1>Create Password Protected Webpage Using PHP, HTML And CSS</h1>
 <form method="post" action="" id="logout_form">
  <input type="submit" name="page_logout" value="LOGOUT">
 </form>
 <?php
}
else
{
 ?>
 <form method="post" action="" id="login_form">
  <h1>LOGIN TO PROCEED</h1>
  <input type="password" name="pass" placeholder="*******">
  <input type="submit" name="submit_pass" value="DO SUBMIT">
  <p>"Password : 123"</p>
  <p><font style="color:red;"><?php echo $error;?></font></p>
 </form>
 <?php
}
?>

</div>
</body>
</html>
In this step we first check if user logged in or not by checking session variable if the user is not logged in we display login form and if user is logged in we display webpage content with logout button.
We use two isset() condition to do login or logout.In first condition we simply get the password and check if the password is '123' if yes we put the password in session variable and then display the webpage.
In second condition we simply unset the session variable which stores password value. You may also like simple http authentication using PHP .
Step 2. Make a CSS file and define styling
We make a CSS file and save it with a name password_style.css
body
{
 margin:0 auto;
 padding:0px;
 text-align:center;
 width:100%;
 font-family: "Myriad Pro","Helvetica Neue",Helvetica,Arial,Sans-Serif;
 background-color:#8A4B08;
}
#wrapper
{
 margin:0 auto;
 padding:0px;
 text-align:center;
 width:995px;
}
#wrapper h1
{
 margin-top:50px;
 font-size:45px;
 color:white;
}
#wrapper p
{
 font-size:16px;
}
#logout_form input[type="submit"]
{
 width:250px;
 margin-top:10px;
 height:40px;
 font-size:16px;
 background:none;
 border:2px solid white;
 color:white;
}
#login_form
{
 margin-top:200px;
 background-color:white;
 width:350px;
 margin-left:310px;
 padding:20px;
 box-sizing:border-box;
 box-shadow:0px 0px 10px 0px #3B240B;
}
#login_form h1
{
 margin:0px;
 font-size:25px;
 color:#8A4B08;
}
#login_form input[type="password"]
{
 width:250px;
 margin-top:10px;
 height:40px;
 padding-left:10px;
 font-size:16px;
}
#login_form input[type="submit"]
{
 width:250px;
 margin-top:10px;
 height:40px;
 font-size:16px;
 background-color:#8A4B08;
 border:none;
 box-shadow:0px 4px 0px 0px #61380B;
 color:white;
 border-radius:3px;
}
#login_form p
{
 margin:0px;
 margin-top:15px;
 color:#8A4B08;
 font-size:17px;
 font-weight:bold;
}
You can also view our password strength checker tutorial with this code to check password strength.
That's all, this is how to create password protected webpage using PHP, HTML and CSS.
You can customize this code further as per your requirement. And please feel free to give comments on this tutorial.
I hope this tutorial on password protect page helps you and the steps and method mentioned above are easy to follow and implement.
 About Ashish
Ashish is a dynamic and motivated individual with a passion of programming and an experienced programmer having 3+ years of experience in various languages like Java, Python, HTML, CSS, JavaScript, jQuery and various frameworks like Bootstrap
RELATED TUTORIALS
 Create Password Protected Webpage Using PHP, HTML And CSS
 Password Reset System Using PHP
 Generate Random Password Using PHP And MySQL
 Validate Email And Password Using jQuery
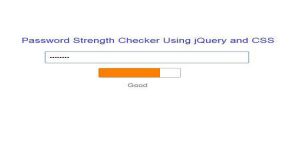 Password Strength Checker Using JavaScript,jQuery and CSS
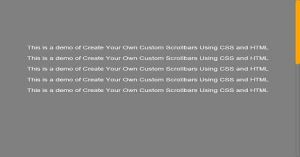 Create Your Own Custom Scrollbars Using CSS And HTML
 Create Vertical Timeline Using HTML And CSS
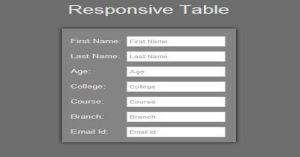 Create A Full Responsive Table Using HTML And CSS
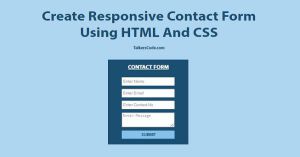 Create Responsive Contact Form Using HTML And CSS
 Create Floating Navigation Menu Using HTML And CSS